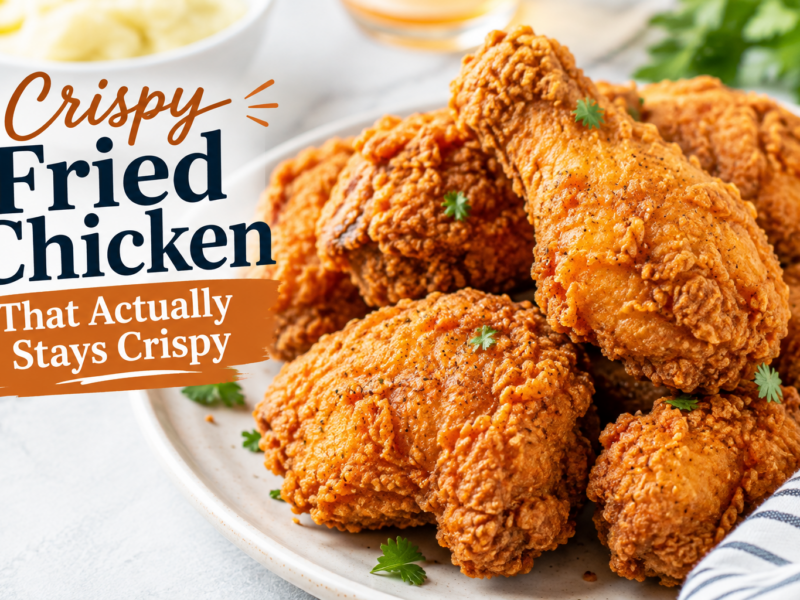
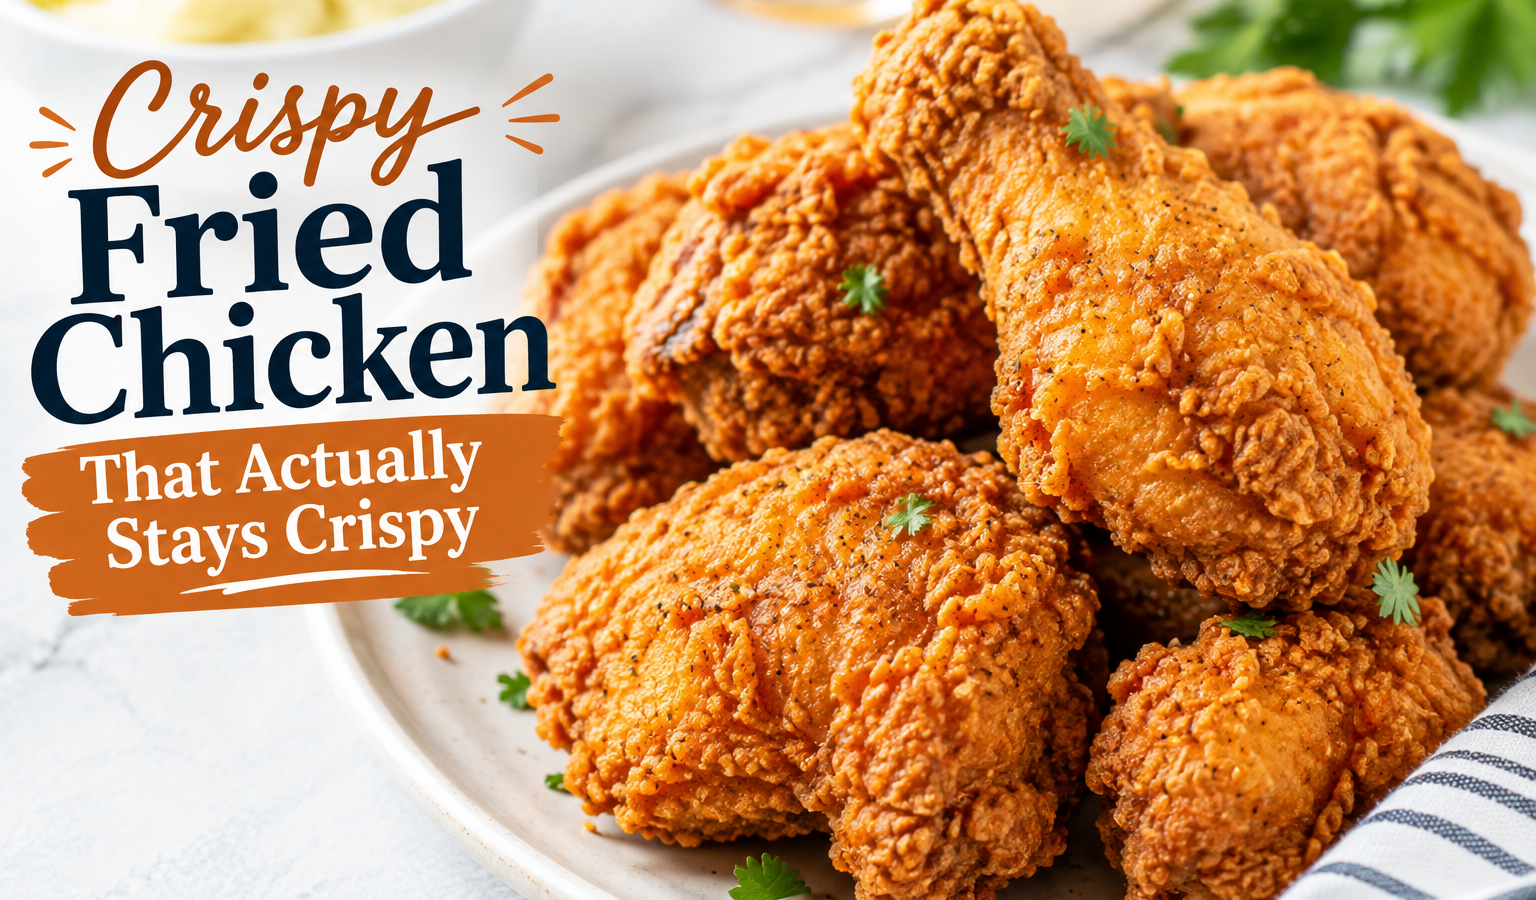
If you’ve ever bitten into a piece of fried chicken with skin so shatteringly crispy it crackles all the way through — even after it cools down — you already know how rare that experience is at home. Most recipes deliver a golden crust straight out of the oil, only for it to turn limp and sad within minutes. Frustrating? Absolutely. But after testing this recipe more times than we can count, we finally cracked the code. Today, we’re sharing every detail — no secrets held back.
This isn’t just “chicken dipped in flour and fried.” There’s a two-stage marinade, a carefully balanced flour blend we’ve spent months refining, and one small step most home cooks skip — yet it’s the single biggest factor between crispy that lasts and crispy that doesn’t.
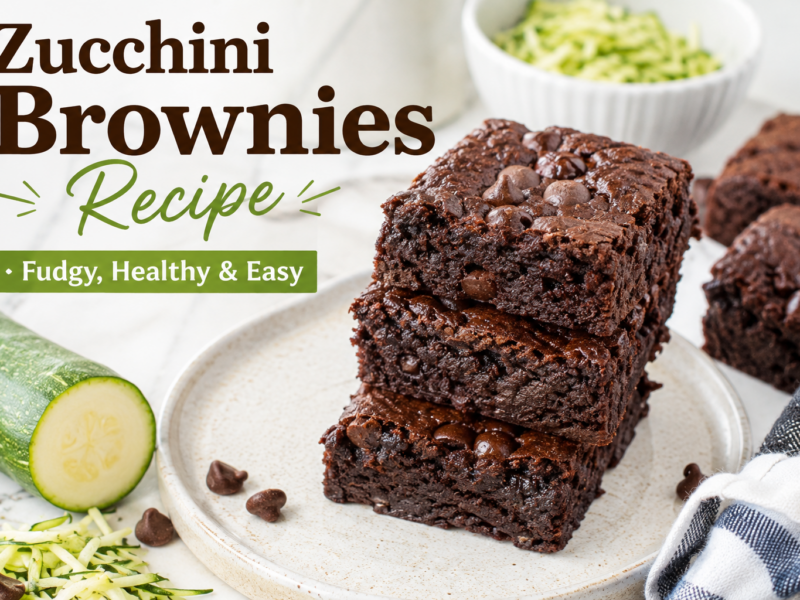
If you love recipes that challenge what you think you know about everyday cooking, you’ll also want to check out our Zucchini Brownies That Actually Taste Like Brownies — proof that the best dishes are often the ones that surprise you most.
Why Does Crispy Fried Chicken Go Soggy?
The real culprit is moisture. A damp chicken surface is the enemy of lasting crunch. When chicken hits hot oil, steam from inside the meat pushes outward through the flour coating — and if that coating isn’t structurally strong enough, the steam quietly destroys everything you worked to build.
The solution lies in two things most recipes rush past: double-dipping and resting time. Master these two steps, and your crispy fried chicken will hold its crunch long after it leaves the pan.
Ingredients
For the Chicken
- 1 whole chicken, cut into 8 pieces (or 1 kg bone-in thighs and drumsticks)
- 500 ml buttermilk (or whole milk + 1 tbsp apple cider vinegar, rested 10 minutes)
- 1 tsp salt
- 1 tsp black pepper
- 1 tsp garlic powder
- 1 tsp smoked paprika
For the Crispy Coating
- 250 g all-purpose flour
- 50 g cornstarch (the secret to lasting crunch)
- 1 tsp salt
- 1 tsp white pepper
- 1 tsp garlic powder
- ½ tsp baking powder
- ½ tsp smoked paprika
For Frying
- Neutral oil with a high smoke point — canola or vegetable oil works best
How to Make Crispy Fried Chicken
Step 1 — First Marinade (Minimum 4 Hours, Overnight is Better)
Wash and pat the chicken pieces completely dry with paper towels. This step is non-negotiable — wet chicken won’t absorb the marinade properly, and it won’t hold its coating well either.
Whisk together the buttermilk, salt, black pepper, garlic powder, and smoked paprika. Submerge the chicken pieces, making sure every surface is coated. Cover tightly with plastic wrap and refrigerate for at least 4 hours. Overnight is ideal. The natural acidity of buttermilk gently tenderizes the meat from the inside while creating a tacky surface that helps the flour coating grip and hold during frying.
Step 2 — Mix the Coating
In a large, wide bowl, whisk together the flour, cornstarch, salt, white pepper, garlic powder, baking powder, and smoked paprika until evenly combined. The cornstarch is what separates a truly crispy coating from a merely crunchy one — it produces a lighter, more delicate crust that shatters rather than chews.
Step 3 — The Double-Dip (Do Not Skip This)
Lift the chicken from the buttermilk marinade — don’t shake off too much liquid. That wet surface is exactly what makes the flour stick. Press each piece firmly into the flour mixture, making sure every corner and crevice is coated. Don’t be gentle here; press and turn until the surface looks rough and textured.
Now dip the coated chicken back into the remaining buttermilk (add a splash of water if it’s running low), then press it into the flour mixture a second time. This is the double-dip — it builds a layered, craggy coating with deep ridges where crispiness loves to hide.
Place each coated piece on a wire rack and let it rest for 15 minutes before frying. Don’t rush this. The resting time allows the coating to hydrate and bond with the chicken surface, so it won’t peel away in the oil.
Step 4 — Fry with Precision
Heat oil in a deep, heavy-bottomed pan or cast iron skillet to 175°C (350°F). No thermometer? Dip the tip of a wooden chopstick into the oil — steady, active bubbles mean you’re ready.
Fry in small batches. Crowding the pan drops the oil temperature dramatically, leading to greasy, pale chicken instead of golden, crispy perfection. Fry each batch for 12–15 minutes, turning occasionally, until deep golden brown and cooked through (internal temperature 74°C / 165°F).
Transfer to a wire rack — never paper towels. Paper towels trap steam underneath the chicken, turning that beautiful bottom crust soft within seconds. A wire rack lets air circulate all around, keeping every surface crispy.
How to Keep It Crispy Longer
Cooking for a crowd? Place fried chicken on a wire rack set over a baking sheet in an oven at 90°C (200°F) after frying. This keeps it warm and crispy for up to 45 minutes without drying it out.
And whatever you do — don’t cover freshly fried chicken with a lid while it’s still hot. Trapped steam is the fastest way to undo all your hard work.
What to Serve It With
This crispy fried chicken is wonderful alongside steamed white rice, fresh sambal, and a plate of raw vegetables for balance. For a lighter pairing, serve it with a bright, acidic slaw to cut through the richness of the coating.
Interested in how other cultures approach fried chicken? Our World Flavors: Food, Culture, and Culinary Traditions article explores how nearly every food culture in the world has its own version of crispy fried chicken — each with its own story, spice, and soul.
And if you’re in the mood to keep experimenting in the kitchen, our How to Hide Cauliflower in Mac and Cheese guide shows how a little technique can transform even the most skeptical eaters.
Why This Recipe Works
A lot of fried chicken recipes lean on long ingredient lists — dozens of spices, specialty sauces, elaborate processes. We deliberately kept this one focused. Not out of laziness, but because we firmly believe that great crunch is built on technique, not complexity.
Overnight buttermilk, patient double-dipping, a proper rest before frying, steady oil temperature, and a wire rack finish — these five principles are the entire recipe. Understand why each one matters, and you’ll never be disappointed by homemade fried chicken again.
This is the kind of cooking we love most here at Trend Flavors: simple on the surface, smart underneath — and absolutely delicious every single time.
Tried this recipe? Drop a photo in the comments below — we genuinely love seeing your crispy results straight from your kitchen.